
How to Make Almond Milk
/
I've been making my own almond milk for a while now. I love having it in my morning coffee - it gives the milkiness I like from putting milk in my coffee, and just the right amount of sweetness, but somehow seems lighter on the stomach. I also love using it in my kid's smoothies.
When I made it the first time I was completely blown away at how easy it was. I couldn't believe I'd been holding off on making nut milk, for some reason thinking it would be too much work. So wrong!
As with anything I do, of course I have to tinker with it. I might start by following somebody else's recipe, but I tweak and change until I've figured out the way that works for me. You can google around and you'll find plenty of recipes for homemade almond milk, the variety is quite surprising actually, given how simple it is. So what we have here is the method I've been using that's working well for me. One of my goals when messing with a recipe is to figure out how much I can simplify the process, while still getting the best possible flavor. I try to cut out any unnecessary steps and just get it down to the most efficient process possible. I've also experimented with different amounts of water, and different combinations of sweetness and flavor. One of the things I have learned for sure is that having a great blender makes a HUGE difference in how creamy your milk will be. I use my Vitamix to make my almond milk. Once you try homemade almond milk made in a high powered blender like this, you will never want to go back to store bought.
So now I'm sharing with you my recipe - I think it's about as easy as you can get, and the flavor is great.

What you'll need to make about a quart of almond milk:
1 cup of raw almonds
Dates, or other sweetener (I'm using 2 medjool dates. If you use smaller dates you might want more. Or you can use honey, or any other natural sweetener you like)
About 4 cups of water, maybe slightly more
Other flavorings as desired (vanilla, cinnamon)
A high powered blender
A nut milk bag or some cheesecloth and a strainer
A glass bottle or other storage container.
Note that I have tried doubling this to make more than a quart at a time, but my blender doesn't quite hold enough to allow for the doubled recipe and still have room to really blend it up. So one quart at a time it is. But it's so easy, that it's really not a problem to do this a couple times a week.
How to make almond milk:

Measure out 1 cup of almonds. Put them directly in your blender container and fill with water up to the 5 cup line. This will end up being just a little over 4 cups of water.

Let soak overnight. The next day the almonds will have swelled a little and the water will look a little murky. Some people strain them at this point and start over with fresh water. I've tried it both ways and I think switching the water is not necessary. It maybe gets you a slightly whiter milk, but the flavor is the same so why not skip that step. This is why I just start out soaking right in my blender - no need to dirty another vessel, no need to drain or do anything else at this point.
Drop in your dates and/or any other sweetener or flavoring you like. Some people like vanilla, some also add a little cinnamon. Some do honey instead. It's really all about personal taste and I've found that the dates alone give me just enough of a clean sweetness, so I like keeping it simple. Don't forget to take the pits out of the dates!
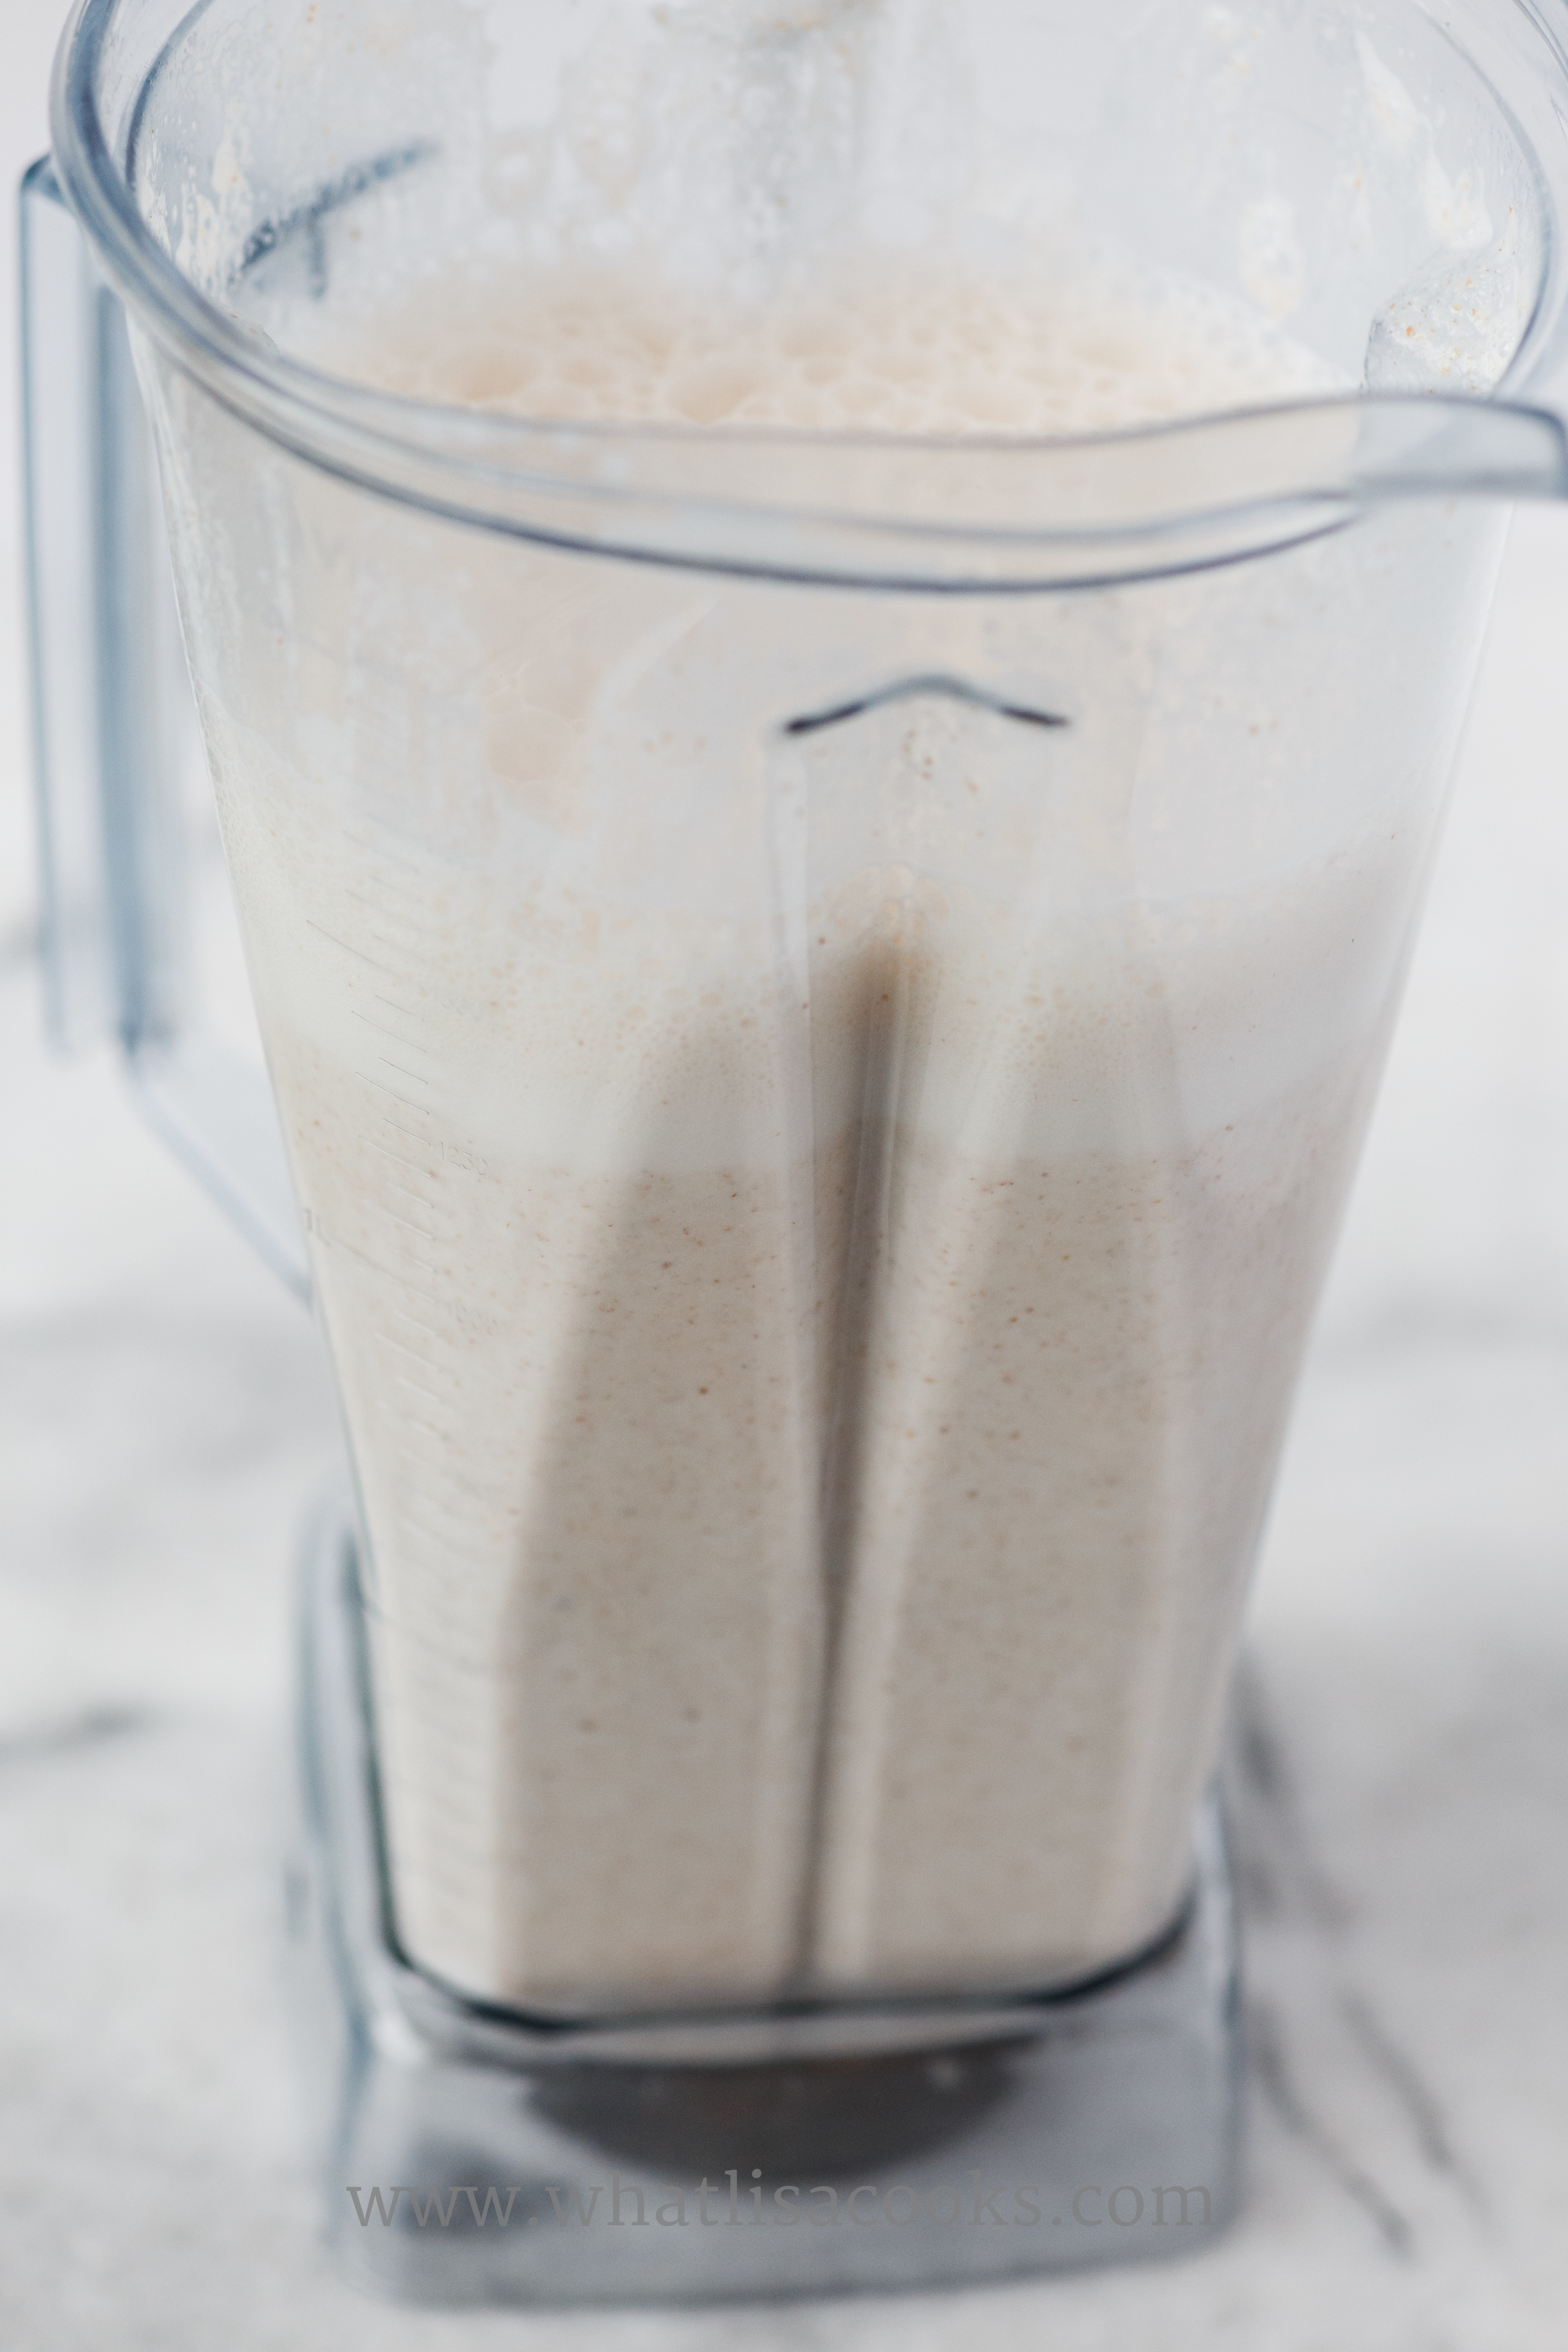
Blend it all up on high power. I like to let it go for a minute or two, to really get the almonds as pulverized as possible and get every bit of flavor out of them.

When it's as blended as you think you can get it, get your straining setup ready. I bought a nut milk bag which makes it so easy. I just set my bag down in a bowl.
But before I got the bag I would set a strainer over the bowl and line it with a couple layers of cheesecloth. Both methods work just as good, the nut milk bag just makes the process a little easier and faster.

Pour everything from your blender into your strainer.
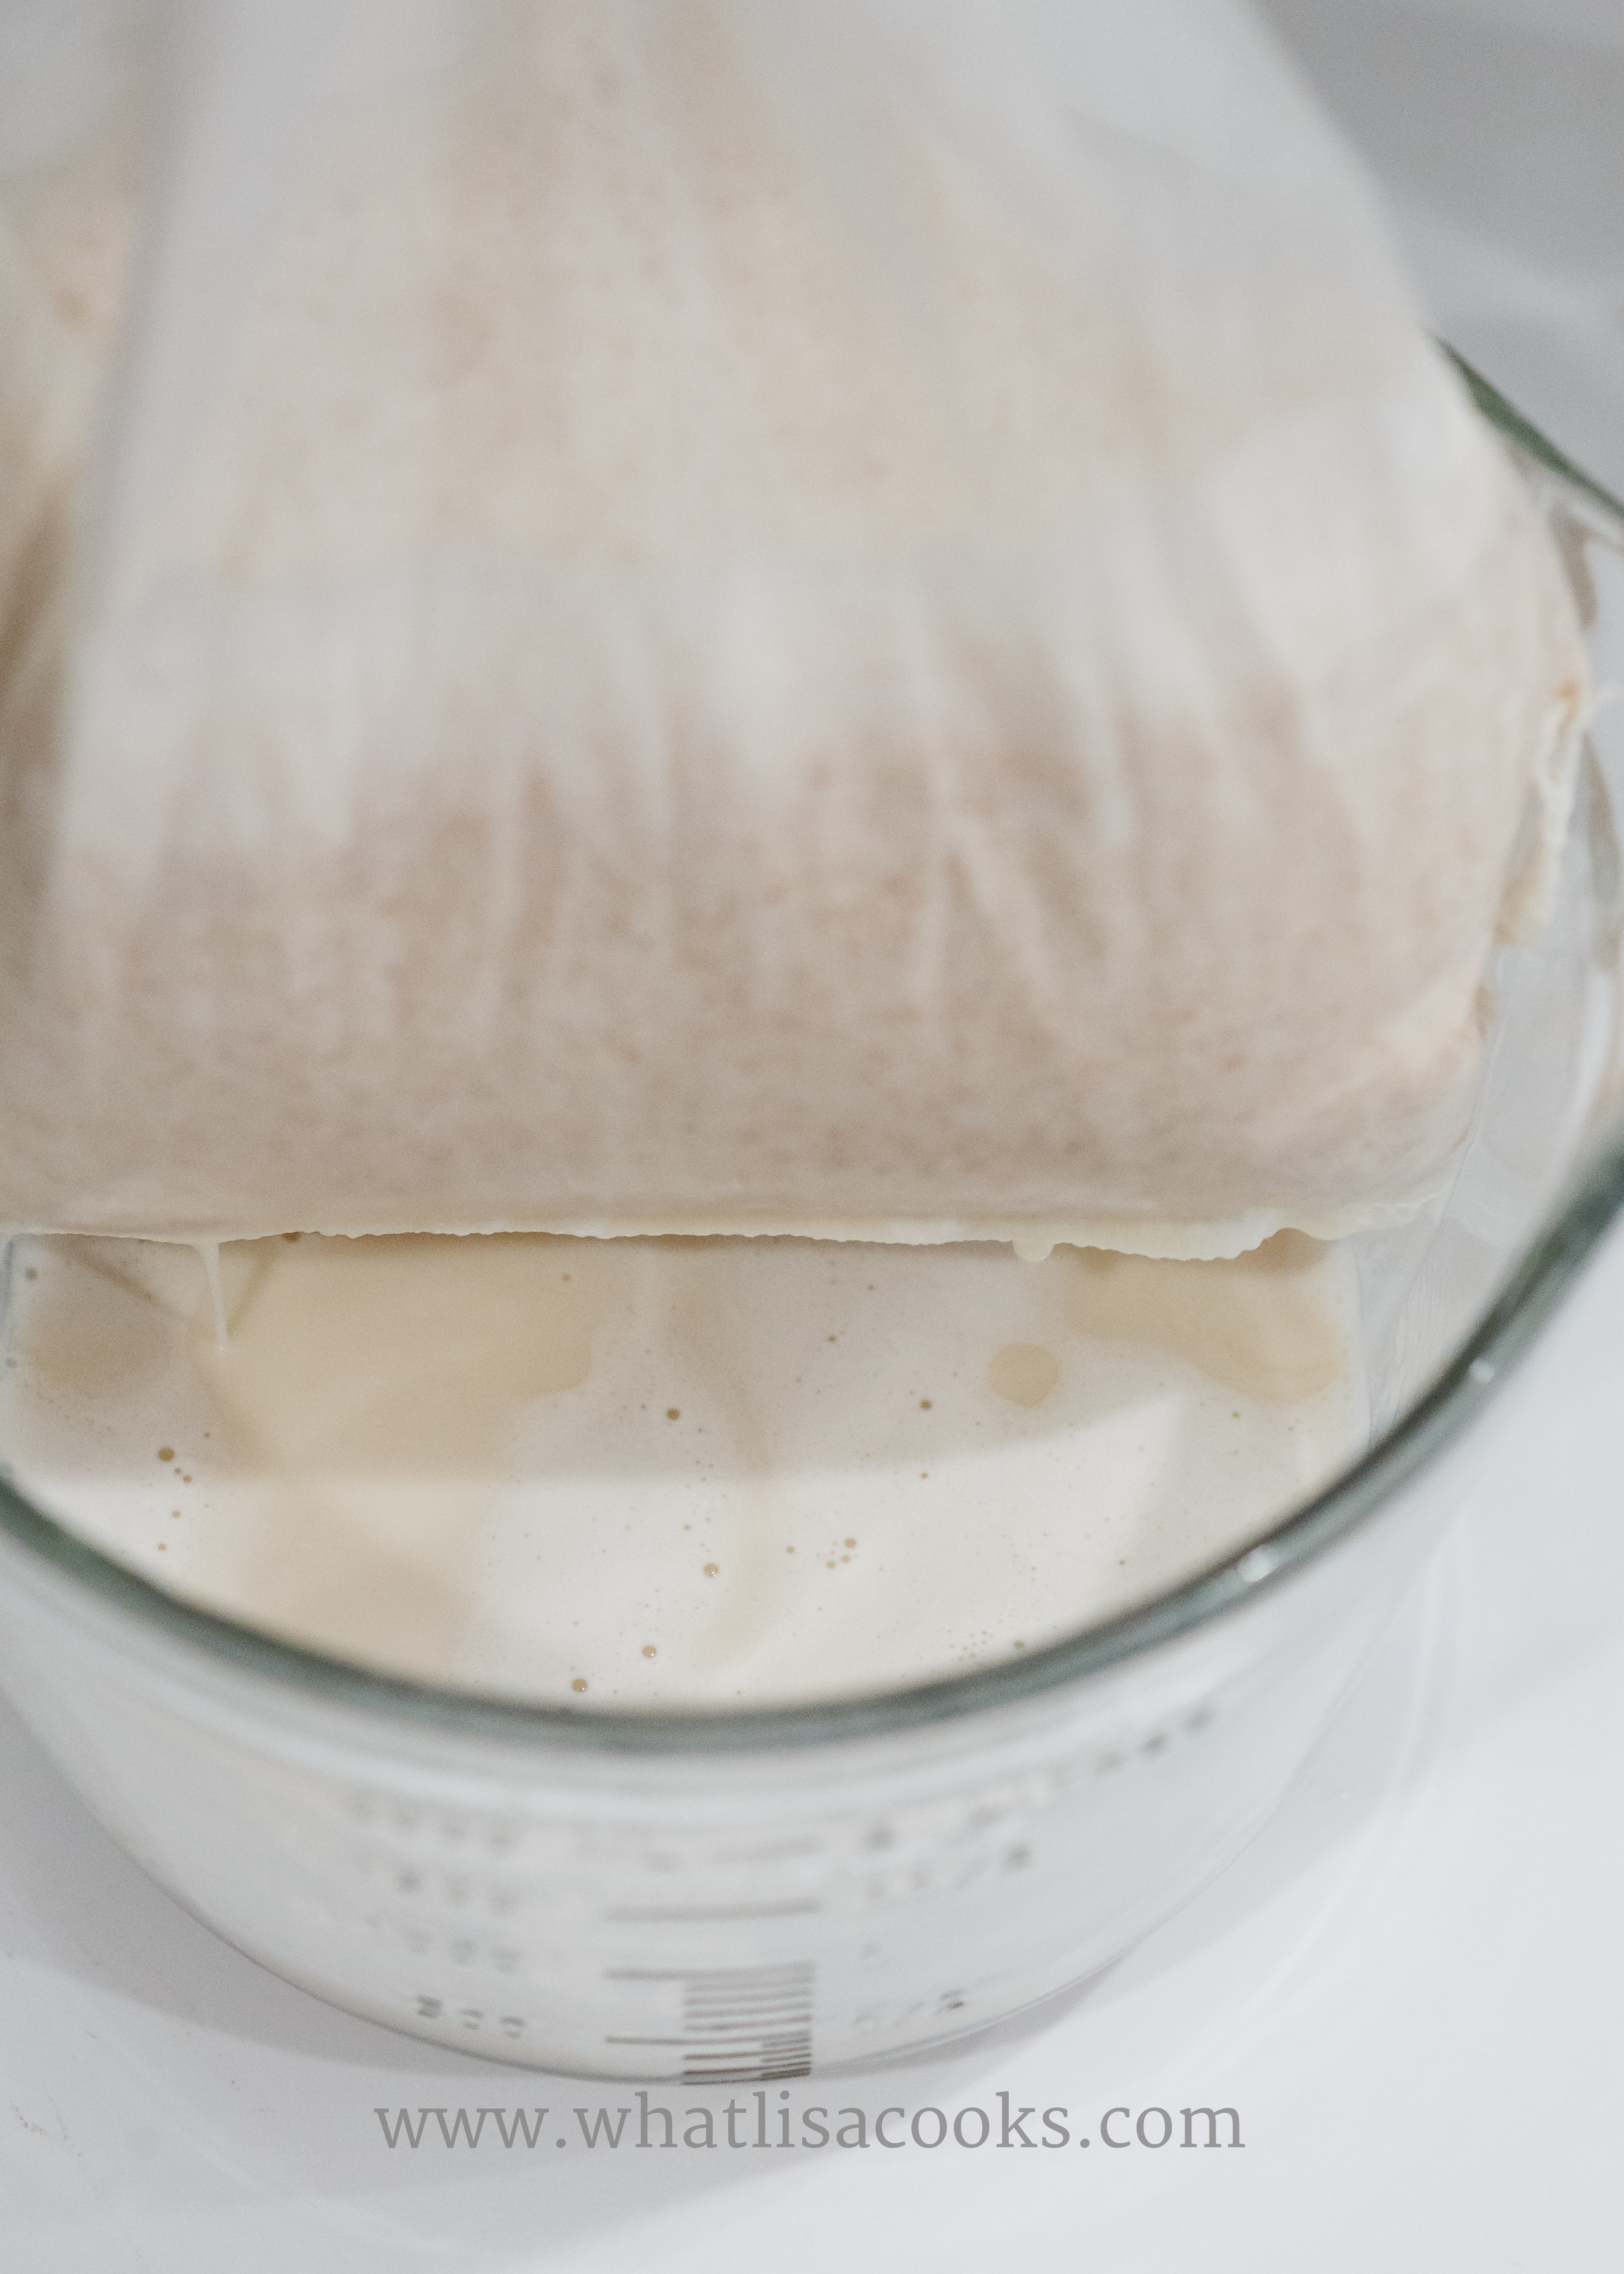
Gather it up and let it start to drain.

I hang my bag from a cabinet knob, so it easily drains right into my bowl. With the nut milk bag you can let it drain for just a few minutes and then squeeze the rest out. The mesh is fine enough that you can squeeze pretty hard and none of the pulp gets through. This satisfies my need for instant gratification - I can't stand waiting for it to strain.
If you're using a strainer and cheesecloth you'll want to just walk away and let it drip for a while, maybe a couple hours - if you do too much squeezing with the cheesecloth you will start to get some pulp coming through.
And that's it! Pour milk into a jar, chill, and enjoy! The first time I made it I couldn't believe how easy it was, and also how creamy and milky it was. If you like store bought almond milk, you're going to absolutely love this! It will separate as it sits in the fridge, so you'll just need to give it a good shake before you pour some.