
Basic Bread and Pizza Dough Recipe
Every time I share our homemade bread pizza on social media I get asked for my dough recipe and I realized that after all these years I’ve never shared it - so it’s about time I got around to writing a blog post for you with my basic easy pizza and bread dough recipe. Keep reading for my recipe and lots of baking notes.

I think there’s a big myth in baking.
We’ve all been sold this idea that we must have extremely precise measurements and use very specific techniques or our recipes just won’t work out to be edible.
I’m here to tell you that this is a giant lie.
It’s just not true. The more I cook the more I realize that just about every recipe I’ve ever come across is actually quite forgiving. So you add a little too much flour, or not quite as much yeast, or slightly less sugar - that doesn’t mean your recipe is going to automatically fail. It might not be picture perfect, but it will still be good enough for a weeknight dinner and you will have learned a lot in the process. I’m sure there are very fussy and fancy French pastry recipes out there that require the exact to the gram amount of the exact perfect kind of milled flour and high fat butter, but honestly very few of us are cooking that kind of stuff. I promise you that probably 95% of the recipes you will come across in your everyday home cooking are really quite forgiving and flexible - and this kind of dough recipe certainly fits in that category.

This is a super simple recipe. It’s very flexible and not at all fussy, and really quick to throw together. I’ve evolved this recipe & method a lot over the years, and learned in the process that making this kind of dough is considerably easier and less precise than most recipes and cookbooks would have you believe.
I actually don’t even usually measure when I make this any more, I just eyeball it and add a bit more water or flour if it seems off. But I’ve measured out the basic ingredients for you so you have an easy starting point. Just remember that this can just be used as a starting point and you can - and should - adapt recipes to suit your personal taste and style. That’s what cooking is all about!
You don’t need fancy tools for this. I used to make dough in the food processor and mixer, but over the years I realized that doing it by hand is just as easy and really just as fast, and you end up with less stuff to wash. I can mix this dough up in a big bowl in less time that it would take me to get out my mixer or food processor, assemble it, mix the dough, put it in another bowl to rise, and then clean the appliance and put it away. Sometimes the old fashioned way is just the best.
The tools I use are a very large wide bowl (like a large wide pasta bowl), and a dough whisk. With this kind of bowl you can do all your kneading, mixing, and rising right in the bowl. It’s really the minimal amount of mess. The dough whisk isn’t strictly necessary, you can just use a wooden spoon, but I find that it helps with the early mixing.
The recipe is below. It’s really quite simple once you’ve done it a few times, but be sure to read through the whole thing so you understand the steps. Also don’t skip the notes at the end - there’s a lot of my knowledge from having done this for many years. If you still have questions after all that, feel free to comment or message me on Facebook or Instagram - I’m not quite as timely with responding to comments here on the blog.
Lisa's Basic Bread & Pizza Dough:
4 cups flour, plus extra for kneading if necessary (see notes about type of flour)
2+ teaspoons active dry yeast
1 Tablespoon kosher salt
2 teaspoons sugar
1 1/2 cups lukewarm water
Instructions:
In a large wide bowl add the yeast, sugar, and warm water. Give this a quick stir to combine, and wait just a minute for your yeast to wake up. If you are sure that your yeast is fresh then you can skip this step, but I like to do it because I feel like it gives the dough a bit of a head start.
Add the flour and salt and give it a good stir to start it mixing together. Very quickly you will get to a point where it's no longer useful to stir and you will want to get in there with your hands. Get it together into a ball and start kneading.
You can knead by hand in your bowl. This is why I use a big wide bowl - I don’t even have to get my counter or another surface dirty for kneading. If you didn’t have a bowl wide enough to knead in, then you’ll want to put it out on a flat surface. If the dough still seems a bit too sticky, add more flour just a small handful at a time. You should be able to easily pick it up, folding and squeezing and pushing it together. After a few minutes of working it should start to feel smooth and tight. If you haven’t done a lot of kneading before, don’t worry about it. It’s a weird thing that just takes practice to get a feel for. You can probably find a few youtube videos if you really want to see how it’s done.
At this point I like to set it down and let it rest for a few minutes. Just leave it for 5 minutes or so while you clean up a little. Then come back to it and knead a bit more. It’s much easier to knead after a short rest.
Lay your nice round of dough down in your bowl and cover with plastic wrap to rise. You want it to at least double in size. I’ll say this takes about an hour on average, but rising time is going to really vary depending on your kitchen situation. If your room is very warm, it will rise faster. If it’s rising too fast you can stick it in the fridge to slow it down. Rising will take longer in a cold room. You can speed this up by turning on your oven and setting the bowl nearby.
After it’s risen to more than double, give it a good punch to deflate, and knead again for a couple of minutes
At this point you can decide if you are going for a full second rise or not. If you aren’t in a hurry, the extra rise will give it a bit nicer texture. But if you don’t have the time then you can absolutely go ahead and get it ready for how you are using it at this point.


For a loaf of sandwich bread:
Shape dough into an oblong blob and plop it into a lightly oiled loaf pan. You can also line the pan with parchment paper if you like.
Let it rise in the loaf pan, again until nearly doubled. I usually put just a little oil on top to keep it from drying out.
Once sufficiently risen, take a very sharp knife and cut a slit straight down the middle. Then spray the top with a bit or water or brush with melted butter, and I like to sprinkle a bit of coarse salt on top.
Bake in a 350 oven for one hour.

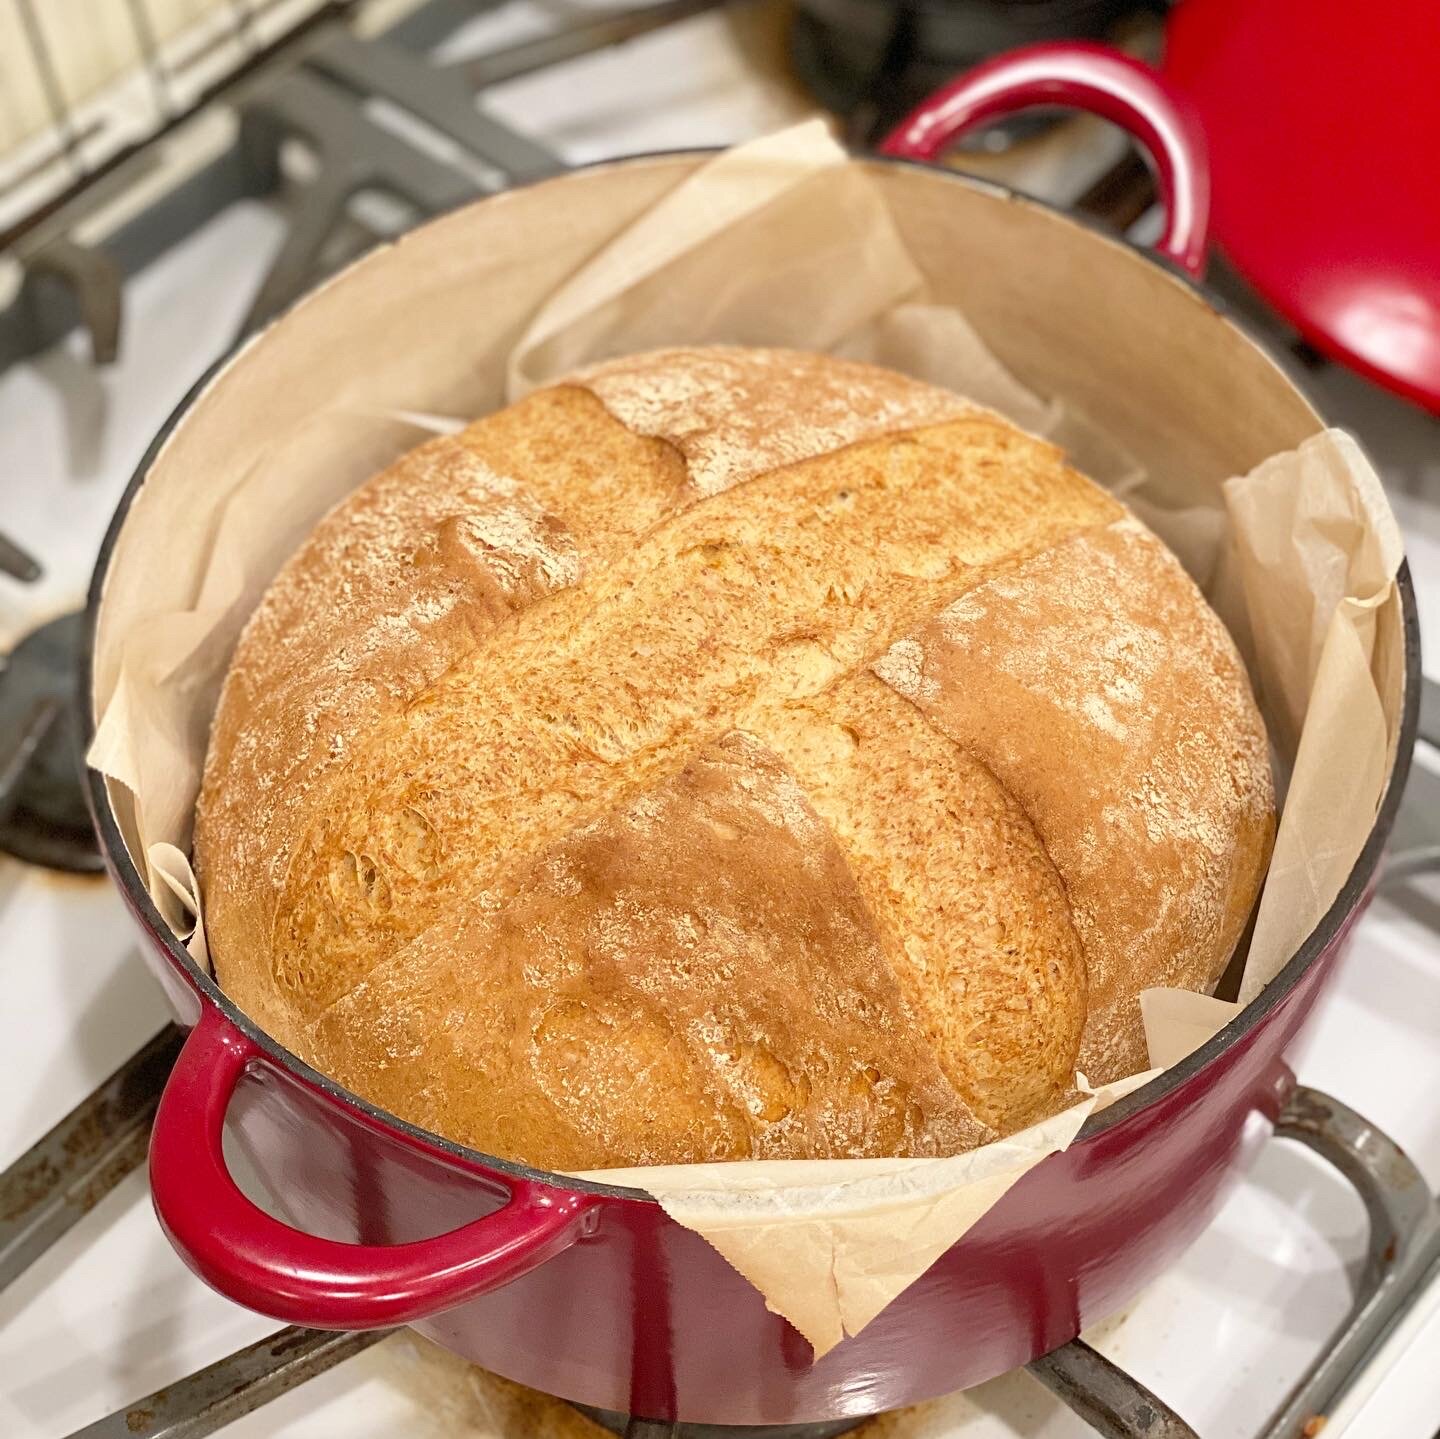
For a round loaf of crusty bread:
Shape into a nice round ball and set on a piece of parchment paper.
Put a large dutch oven in a preheated 450 degree oven to get hot.
When the dough has risen again use a sharp knife to cut slits across the top of the loaf.
Very carefully lift your risen loaf with the paper and set it into the heated dutch oven. Put on the lid and put it in the oven.
Bake for 45 minutes with the lid on, and remove lid to bake for 15 minutes more.
Carefully remove loaf from pan and allow to mostly cool before slicing.
For Pizza:
Divide dough into balls for pizza. If you want thick crust you can divide in half. We like our pizza with a very thin crust, so I divide this amount of dough into four balls.
Let the balls rest for a few minutes and then you can start rolling them out to your desired thickness and add toppings.
We bake our thin crust pizzas on parchment paper on a pizza stone in a 500 degree oven for 7-8 minutes.
Notes:
The flour can be any combination you like, but I recommend you start with white flour to get the hang of it. Bread flour will give you the best results, but all purpose flour works well too. After you’ve done it a few times and you’ve got the feel for the process, then experiment. Substitute in a bit of whole wheat flour, or add other flavorings or grains. For a simple sandwich loaf my typical combination is 2 cups white bread flour and 2 cups whole wheat flour. More wheat flour makes a denser loaf. More white flour makes it rise better and you get a lighter, more airy loaf.
If you want to make a whole wheat loaf, try adding a couple tablespoons of vital wheat gluten. Whole wheat flour has less gluten and won’t rise quite as well, so adding a bit back helps.
Salt is really a personal preference. We like ours salty. If you don’t want it salty, then use a little less than 1 tablespoon. You’ll also need to experiment with different types of salt. Some salts are more salty than others.
Less sugar is fine, but it will need more time to rise. The sugar just feeds the yeast.
Honey works too - and is nice with whole wheat - but you might not need all the water with a liquid sweetener. Try adding 1/4 cup of honey and reduce the water to 1 1/2 cups.
Cold water is fine, but it will also need more time to rise as it warms up. Using warm water helps kickstart the yeast.
Yes this works in a bread machine. I like to add 3 tablespoons of room temperature butter otherwise it sticks in my bread machine, and just use 3 1/2 cups of the flour.
I use this recipe for rolls also. Divide it into 12 little balls and let them rise on parchment. I like to brush them with a little butter on top and sprinkle a little salt. Bake for 30 minutes at 400.
Oven temperatures vary also - so it might take a few tries to find the right temp for your oven and for the size of bread you are baking.
Experiment with it! Try milk instead of water. Try adding a little oil or butter, add an egg. Try adding some herbs or cheese. Try juice or beer. The possibilities are endless, and the worst that can happen is you are out a few cups of flour and a couple teaspoons of yeast.

Enjoy!